Blog
How to Add and Use Skills in OpenClaw
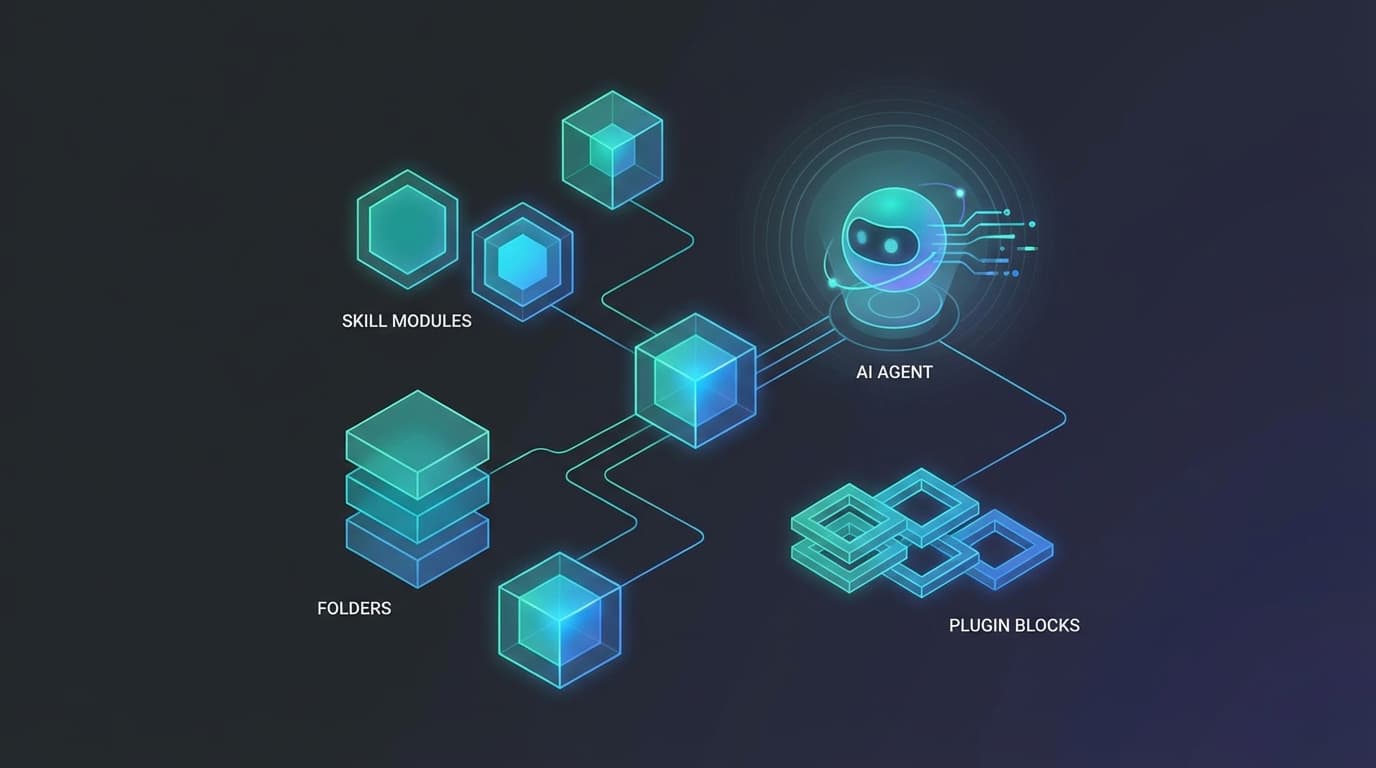
If you want to add new capabilities to OpenClaw, skills are the place to start. The simplest path is to install a skill into your active workspace with openclaw skills install <skill-slug>, verify the agent can see it, and test it in a low-risk draft workflow before you rely on it for real work.
That is the practical answer.
A lot of people understand the idea of skills but still feel fuzzy on how they actually work. Where do they live? What happens if the same skill exists in more than one place? How do you limit which agents can use which skills? And how do you avoid treating third-party skills like harmless text when they are really executable operating instructions?
This guide answers those questions and walks through a safe setup path for OpenClaw skills.
If you want the platform basics first, read what OpenClaw is, workspace files, and the existing guide on OpenClaw skills. For the rule-writing side of agent reliability, pair this with How to Write AGENTS.md for OpenClaw.
What a skill is in OpenClaw
According to the official skills docs, OpenClaw uses AgentSkills-compatible skill folders to teach the agent how to use tools. Each skill is a directory with a SKILL.md file that contains frontmatter and instructions.
That is the technical description.
The practical description is simpler: a skill is a reusable operating playbook for a task. It tells the agent how to use tools for a repeatable workflow instead of improvising from scratch every time.
That is why skills matter. They move you from one-off prompts to reusable capability.
Where skills live
The official docs are clear that OpenClaw can load skills from several places.
These include:
- extra skill folders defined in config
- bundled skills shipped with OpenClaw
- managed or local skills in
~/.openclaw/skills - personal agent skills in
~/.agents/skills - project agent skills in
<workspace>/.agents/skills - workspace skills in
<workspace>/skills
This is one of the most important things to understand because location affects both visibility and precedence.
Which copy of a skill wins
If the same skill name exists in more than one place, OpenClaw resolves that conflict by precedence.
The docs say the order is:
<workspace>/skills<workspace>/.agents/skills~/.agents/skills~/.openclaw/skills- bundled skills
- extra skill directories
That means your workspace copy wins.
This is a good pattern because it lets you override a shared or bundled skill locally without changing the global copy.
Why this matters in practice
Once you understand precedence, the setup decisions get easier.
For example:
- put experimental skills in the workspace if they are project-specific
- keep shared personal skills in
~/.agents/skillsif you want them across workspaces - use global managed skills only when they really should be machine-wide
That keeps the workspace cleaner and makes overrides easier to reason about later.
Step 1: start with one skill, not ten
Most people overcomplicate skills the same way they overcomplicate automation in general. They install too many things before they have any idea which one is actually useful.
A better approach is:
- pick one workflow you repeat often
- install one skill that supports it
- test it with real examples
- only then add another skill
That sequence matters because every new skill increases the size of the agent's operating surface.
Step 2: install a skill into the active workspace
The official docs point to the native command:
openclaw skills install <skill-slug>That installs the skill into the active workspace skills/ directory.
This is a good default because it keeps the new capability local to the workspace you are actively shaping.
The docs also mention common maintenance flows like:
openclaw skills update --allAnd, for publish or sync workflows, the separate clawhub CLI can scan and sync skills.
For most users, though, openclaw skills install is the starting point that matters.
Step 3: decide whether the skill should be shared or local
After you install a skill, ask whether it belongs only in this workspace or should be available more broadly.
A project-specific research or content skill probably belongs in the workspace.
A more universal utility you use everywhere might belong in a personal skill directory later.
Do not move it too early. First prove it is useful.
Step 4: understand allowlists before multi-agent setups grow
The skills docs make an important distinction: skill location and skill visibility are not the same thing.
Just because a skill is visible does not mean every agent should be allowed to use it.
The docs show that you can define a shared baseline with agents.defaults.skills, then override that per agent with agents.list[].skills.
A simple configuration pattern looks like this:
{
  agents: {
    defaults: {
      skills: ["github", "weather"]
    },
    list: [
      { id: "writer" },
      { id: "docs", skills: ["docs-search"] },
      { id: "locked-down", skills: [] }
    ]
  }
}
This matters because multi-agent reliability depends on keeping capabilities scoped.
A writer agent does not necessarily need every operations skill. An ops agent does not necessarily need every publishing tool.
Step 5: test the skill in a low-risk workflow
Never treat a newly installed skill like a proven employee.
Test it first.
A good first test looks like this:
- run it on a real but low-risk example
- keep the output in draft form
- review the steps it follows
- watch for tool access that feels broader than expected
- update your workspace rules if needed
This is especially important because a skill is not just passive documentation. It is operational instruction.
Step 6: read third-party skills before trusting them
The official docs are blunt on this point: treat third-party skills as untrusted code.
That is the right mindset.
If you would not install a random browser extension without reading about it, do not blindly install a random skill either.
Look at:
- what tools it expects
- what inputs it uses
- whether it wants secrets or environment variables
- whether it assumes sandboxed or unsandboxed execution
- whether the workflow fits your real use case
The point is not paranoia. The point is operator discipline.
Step 7: write the skill into the workspace rules
A skill works better when the rest of the workspace knows how it should be used.
That usually means updating files like:
AGENTS.mdfor when to use the skillSOUL.mdfor tone and boundariesTOOLS.mdfor local notes or environment specificsHEARTBEAT.mdif the skill supports a recurring check
This is what separates a random installed capability from a workflow the agent can use consistently.
Common skill patterns that make sense first
If you are getting started, a few patterns tend to pay off quickly.
Good first skill types include:
- research and search helpers
- content formatting or publishing helpers
- scheduling or reminder helpers
- channel-specific setup helpers
- document transformation utilities
What they have in common is simple: they reduce repeated work without needing broad autonomy.
Common mistakes with OpenClaw skills
Mistake 1: installing too many skills at once
This makes it harder to tell which skill is helping and which one is just clutter.
Mistake 2: ignoring precedence
If the same skill exists in multiple places, you need to know which copy is actually active.
Mistake 3: forgetting allowlists
Visible skills are not automatically appropriate skills for every agent.
Mistake 4: trusting a third-party skill without review
The docs warn about this for a reason.
Mistake 5: installing a skill without updating workspace rules
The skill may exist, but the agent still needs a clear sense of when and how to use it.
How I would set up skills as a beginner
If you are starting from zero, I would keep it simple.
1. install one skill into the workspace
2. test it in draft mode
3. document its intended use in AGENTS.md
4. only then consider a second skill
5. add per-agent allowlists when the workspace gets more specialized
That order keeps the setup understandable.
My recommendation
If you want to add skills to OpenClaw, do not think in terms of "more skills equals more power." Think in terms of clearer workflows.
Start with one skill that solves one repeated problem. Keep it in the active workspace. Review it like you would review any new operating dependency. And use allowlists once you have multiple agents with different responsibilities.
If you want the official references, use the OpenClaw skills docs, the Getting Started docs, and the OpenClaw GitHub repository. You should also read OpenClaw workspace design best practices because skills work best when the workspace around them is clear.
FAQ
What is a skill in OpenClaw?
A skill is a reusable capability, packaged as a skill folder with a SKILL.md file that teaches the agent how to handle a workflow.
Where does openclaw skills install put a skill?
The docs say it installs into the active workspace skills/ directory.
What happens if the same skill exists in more than one place?
OpenClaw resolves the conflict by precedence, with the workspace copy winning over more global locations.
Should every agent get access to every skill?
Usually no. Use per-agent skill allowlists to keep capabilities scoped to the role.
Are third-party OpenClaw skills safe by default?
You should treat them as untrusted until you review them, especially if they request powerful tools, secrets, or risky runtime behavior.
Related posts
View allOpenClaw ClawHub Guide: How to Find, Install, and Update Skills
April 10, 2026
Learn how to use ClawHub to search, install, inspect, and update OpenClaw skills and plugins without filling your workspace with random code.
OpenClaw Skills Precedence and Allowlists: How Control Actually Works
April 9, 2026
A practical guide to OpenClaw skills precedence and allowlists, including where skills load from, which copy wins, and how to restrict them safely.
OpenClaw Skills Precedence Guide: How Skill Loading Really Works
April 9, 2026
A practical guide to OpenClaw skill loading, precedence, allowlists, and shared vs per-agent skills so teams can avoid confusing overrides.