Blog
OpenClaw Docker Setup: How to Run OpenClaw in Containers
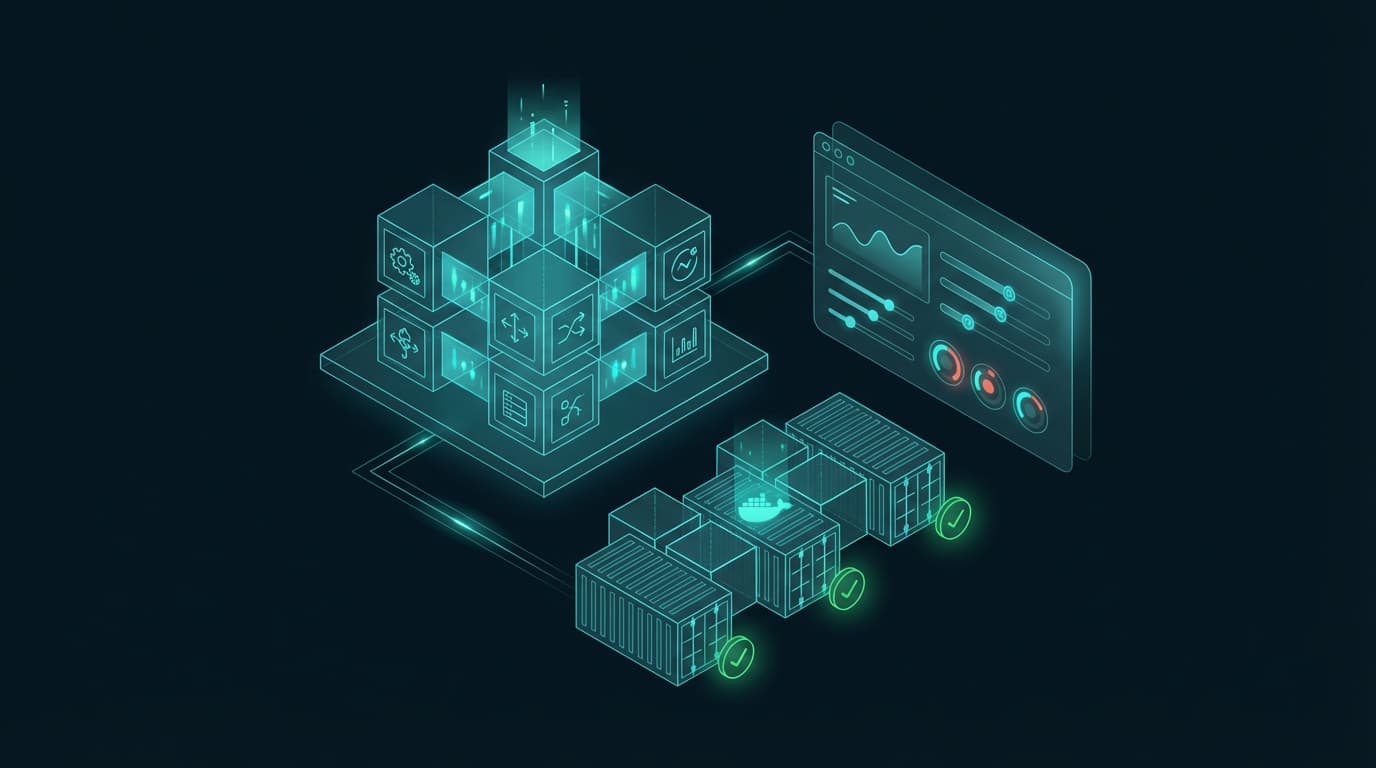
If you want to run OpenClaw in Docker, the practical answer is this: use the Docker flow only if you want a containerized gateway or you need a clean, isolated environment. If you are installing OpenClaw on your own machine and just want the fastest path to a working assistant, the normal install flow is still the better choice.
That distinction matters.
A lot of people assume Docker is automatically the "serious" setup. In reality, Docker is optional in OpenClaw. It is useful for isolation, repeatability, and host environments where you do not want a local install. It is not the default answer for everyone.
This guide walks through when Docker makes sense, what you need first, how the containerized gateway flow works, and how to avoid the common mistakes that make a Docker install feel heavier than it needs to.
If you want the basic install path first, read How to Install OpenClaw: The Fastest Way to Get Started, OpenClaw Configuration Guide, and the setup guide.
When Docker is the right choice
According to the official Docker docs, Docker is optional.
That alone is useful to know because it answers the first question most people should ask: do I actually need this?
Docker is a good fit when:
- you want an isolated, throwaway gateway environment
- you are deploying on a host where a local install is inconvenient
- you want a containerized setup you can reproduce cleanly
- you are validating or testing the Docker flow itself
Docker is usually not the best first choice when:
- you are just trying to get OpenClaw running on your own machine
- you want the fastest dev loop
- you are still learning the basics of the gateway and workspace model
That last point matters more than people think. A normal install already gives you enough to learn. Docker adds another layer, and another layer means another place things can go wrong.
What you need before you start
The official docs call out a few prerequisites clearly.
You need:
- Docker Desktop or Docker Engine
- Docker Compose v2
- enough RAM for the image build, with at least 2 GB recommended
- enough disk space for images and logs
If you are running on a VPS or public host, the docs also recommend reading the security guidance carefully, especially around Docker firewall policy.
That is a good reminder that containerizing the gateway does not remove the need for sane security practices. It just changes where you apply them.
The main Docker setup path
The official docs center the Docker flow around a setup script in the repo.
From the repo root, the basic path is:
./scripts/docker/setup.shThat script does more than people expect. It builds the gateway image locally, runs onboarding, generates a gateway token, writes it to .env, and starts the gateway via Docker Compose.
That is the reason the script is the cleanest starting point. It keeps you from manually stumbling through several setup steps that depend on each other.
If you want to use a pre-built image instead of building locally, the docs show this pattern:
export OPENCLAW_IMAGE="ghcr.io/openclaw/openclaw:latest"
./scripts/docker/setup.sh
That uses the GitHub Container Registry image instead of making you build one from scratch.
Step 1: decide between local build and pre-built image
This is the first decision that actually matters.
Use a local build when:
- you want to work from the current repo state
- you are already in a source-based workflow
- you want full control over the image build
Use a pre-built image when:
- you want a faster path
- you trust the published image and just want the gateway running
- you are using Docker mainly for packaging and deployment, not active development
For most users, the pre-built image path is easier.
Step 2: run onboarding through the Docker flow
One subtle detail in the official docs is easy to miss: the setup script handles onboarding automatically.
That means it prompts for things like:
- model provider API keys
- gateway token creation
- initial configuration values
If you skip this and try to improvise the early steps manually, you are more likely to get stuck.
This is one of those places where following the docs exactly is worth it.
Step 3: open the Control UI
After setup, the docs say to open:
http://127.0.0.1:18789/Then paste the configured shared secret into Settings.
This matters because Docker setup is not done when the container is technically running. It is done when you can actually reach the Control UI and use the gateway.
That is the practical finish line.
If you need the dashboard URL again later, the docs include this helper command:
docker compose run --rm openclaw-cli dashboard --no-openThat is a nice quality-of-life detail for anyone who does not want to hunt through notes later.
Step 4: add channels only after the gateway is healthy
The docs show channel examples using the CLI container:
# Telegram
docker compose run --rm openclaw-cli channels add --channel telegram --token "<token>"

# Discord
docker compose run --rm openclaw-cli channels add --channel discord --token "<token>"
This is the right order.
Do not start with channels before the containerized gateway itself is healthy. First confirm the core system works, then connect the first messaging surface.
If phone-based access is your priority, pair this with OpenClaw Telegram setup, OpenClaw Slack integration, or OpenClaw Discord setup.
The manual Docker flow
If you want to run each step manually, the official docs give a lower-level path.
That looks like this:
docker build -t openclaw:local -f Dockerfile .
docker compose run --rm --no-deps --entrypoint node openclaw-gateway \
  dist/index.js onboard --mode local --no-install-daemon
docker compose run --rm --no-deps --entrypoint node openclaw-gateway \
  dist/index.js config set --batch-json '[{"path":"gateway.mode","value":"local"},{"path":"gateway.bind","value":"lan"},{"path":"gateway.controlUi.allowedOrigins","value":["http://localhost:18789","http://127.0.0.1:18789"]}]'
docker compose up -d openclaw-gateway
This is useful when you want finer control or when you are debugging the setup process itself.
For most people, though, the setup script is the better choice.
What persists in a Docker setup
Persistence is one of the first practical questions Docker users ask.
The docs explain that Docker Compose bind-mounts the config and workspace directories so they survive container replacement.
That matters because the mounted config directory keeps things like:
openclaw.jsonfor behavior config- stored provider auth profiles
.envfor runtime secrets like the gateway token
In other words, the container can be replaced without pretending the assistant is brand new every time.
That is the part that makes the Docker setup usable in practice instead of just disposable.
Health checks and how to know the gateway is okay
The Docker docs include simple probe endpoints:
curl -fsS http://127.0.0.1:18789/healthz
curl -fsS http://127.0.0.1:18789/readyz
Those are useful because they tell you whether the containerized gateway is alive and whether it is ready.
The image also includes a built-in health check that pings /healthz.
If health checks keep failing, Docker can mark the container as unhealthy. That gives you an earlier signal than waiting for a user-facing failure.
For a deeper authenticated health snapshot, the docs show:
docker compose exec openclaw-gateway node dist/index.js health --token "$OPENCLAW_GATEWAY_TOKEN"That is a good troubleshooting step when the setup is partially working but still behaving strangely.
LAN vs loopback in Docker
One of the more practical details in the docs is the note about bind mode.
The Docker setup script defaults OPENCLAW_GATEWAY_BIND=lan so host access to http://127.0.0.1:18789 works with Docker port publishing.
The docs emphasize using bind mode values like:
lanloopbackcustomtailnetauto
That is better than trying to reason about raw host aliases too early.
If you are just starting, leave the default alone unless you have a specific reason to change it.
Common Docker mistakes with OpenClaw
Mistake 1: using Docker just because it feels more advanced
Containerization is not the same as being better suited to your use case.
Mistake 2: starting with the manual flow
Unless you need that control, the setup script is easier and less error-prone.
Mistake 3: forgetting persistence
If you do not understand what is mounted and what is ephemeral, troubleshooting gets confusing fast.
Mistake 4: debugging channels before the gateway itself
Always verify the gateway first, then add channels.
My recommendation
If you want Docker because you value isolation or reproducible deployment, OpenClaw supports that well. If you want the fastest path to a working assistant on your own machine, use the standard install flow instead.
That is the real decision.
For most people, the best sequence is:
1. decide whether Docker is truly necessary
2. if yes, use ./scripts/docker/setup.sh
3. confirm the Control UI loads
4. verify health checks
5. add one channel only after the gateway is stable
If you want the official references, use the OpenClaw Docker docs, the Getting Started docs, and the GitHub repository. You should also read How to Install OpenClaw if you are still choosing between Docker and the default path.
FAQ
Should I use Docker for OpenClaw?
Use Docker if you want a containerized gateway or an isolated environment. If you just want the fastest path on your own machine, the standard install flow is usually better.
What is the main OpenClaw Docker setup command?
The official docs center the flow around ./scripts/docker/setup.sh from the repo root.
Can I use a pre-built OpenClaw image?
Yes. The docs show using OPENCLAW_IMAGE="ghcr.io/openclaw/openclaw:latest" with the setup script.
How do I know the Docker gateway is healthy?
Use the /healthz and /readyz endpoints, and confirm the Control UI loads at http://127.0.0.1:18789/.
What persists when I replace the container?
The mounted config and workspace directories persist, including openclaw.json, auth profiles, and runtime secrets stored in .env.
Related posts
View allAI Agent Runbook Template: How to Build Repeatable Agent Workflows
April 24, 2026
A practical AI agent runbook template for OpenClaw teams, including what to include, how to structure approvals and escalation, and how to turn one-off workflows into repeatable operations.
How to Install OpenClaw on Ubuntu
April 20, 2026
A practical guide to installing OpenClaw on Ubuntu, running onboarding, checking gateway health, and fixing the setup issues that trip up first-time installs.
OpenClaw Mac Mini Setup Guide: How to Run an Always-On Agent at Home
April 20, 2026
A practical guide to setting up OpenClaw on a Mac Mini, installing the gateway daemon, keeping it stable, and turning it into a reliable always-on home agent box.